
The overarching goal of Data Validation is to restrict a user to inputting certain items into a cell. For instance, you can restrict the user to only put whole numbers into a cell.
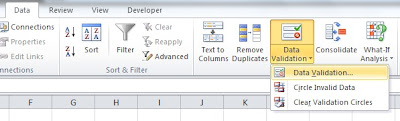
To begin, select the area that you want to restrict. Next, go to the Data tab on your Ribbon and select Data Validation.
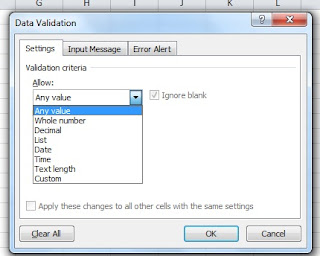
A form will appear. You will notice that it has 3 tabs on it. Under the Settings tab, select the dropdown arrow under Allow.
All of this is very easy to learn. Give it a whirl! Stay tuned for next week's post where we delve into the most powerful part of Data Validation: the List!

A form will appear. You will notice that it has 3 tabs on it. Under the Settings tab, select the dropdown arrow under Allow.

The default is Any Value. In other words, the user can input any value into the cells. Be adventurous and try experimenting with some of the options. You can start by selecting Whole Numbers. To see if your restriction worked, try inputting a restricted value into your cell. For example, let's say you restrict cell A1 to be only whole numbers between 1-10. If you try to put a 17 in that cell, an error message will appear.
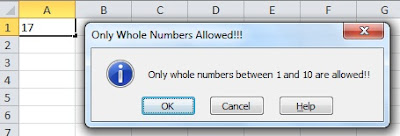
Speaking of error messages, you can customize your error message.Under the Error Alert tab, you can change the error message Style, Title, and Message. Please note that the Style will determine what type of message and restriction is allowed. For instance, the Stop option will not allow any value outside of the restriction. On the other hand, the Information option will. Both, however, will produce a popup. I created the following error message to pop up if the user tries to put a 17 in cell A1. Because I selected the Information option, the user can still change the cell value to 17 but will get this warning before.

All of this is very easy to learn. Give it a whirl! Stay tuned for next week's post where we delve into the most powerful part of Data Validation: the List!
No comments:
Post a Comment